Building your own PC may seem like a daunting task, that is only reserved for tech-savvy users, but the truth is that it is doable for anyone willing to invest a bit of time and effort. If you are wondering how to build a PC, we will take you through the step-by-step guide to building your own PC, from choosing the right components to assembling them into a proper and functioning system.
How to Build a PC
Plan Your Build
Before diving into what components you need to build a PC, it's crucial for you to set a realistic budget. Because your budget will guide your choices and ensure that you get the best performance for your investment. Along with considering the internet components, keep in mind that you need peripheral components as well, such as monitors, keyboards, and mice.
Ask yourself, what do you need the PC for? Is it for gaming, content creation, or just general productivity? This should help you to tailor the components selection to meet specific requirements for building a PC.
For example, when you build a PC for gaming, you might need to prioritize a powerful GPU, whereas, for content creation, you may need to invest in a high-performance CPU.
Select Your Components
Now you need to narrow down on all the components you need for building a PC:
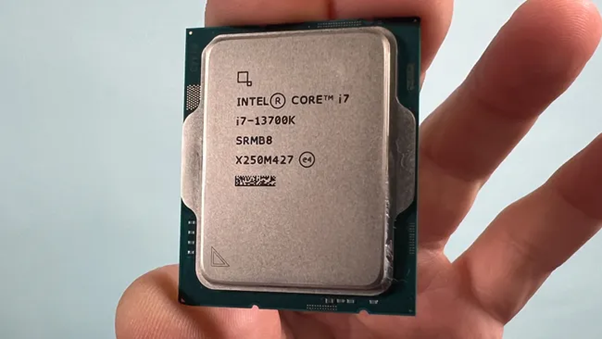
1. CPU: As you may already know, the CPU is considered the brain of your PC that handles all computations. Choose a CPU based on your needs - when building a gaming PC, you will need to go for a top-tier CPU like Intel Core i5 or i7 (which is more powerful), or AMD Ryzen 7 7800X3D or AMD Ryzen 9 7950X.
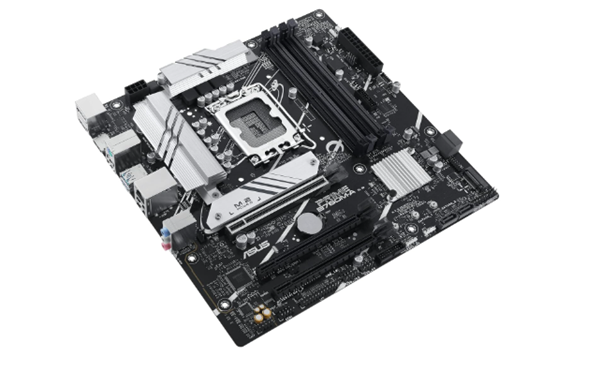
2. Motherboard: The main purpose of the motherboard in a PC is to connect all the components and determine their compatibility. Make sure that the motherboard you go for supports your chosen CPU and has sufficient slots for RAM, expansion cards, and other peripherals. Popular choices may include ASUS, MSI, and gigabyte motherboards.
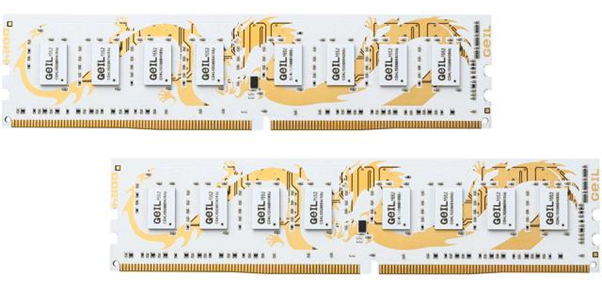
3. RAM: Again, you should choose a RAM based on your usage - 16GB is a good starting point for many users, but if you are using your PC for more demanding tasks, a 32GB or more would be better. The RAM should be compatible with the chosen motherboard.
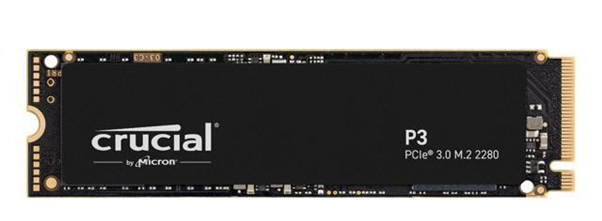
4. Storage: A combination of a fast SSD for the operating system and frequently-used applications and programs, paired with a larger HDD for mass storage, will offer a balance of speed and capacity for your PC needs.
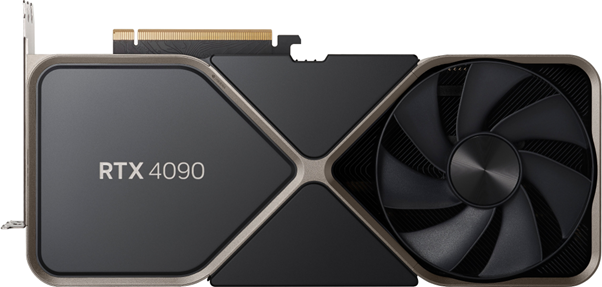
5. Graphic Cards (GPU): For gaming or any tasks that are graphic-intensive, you should have a dedicated GPU. NVIDIA and AMD offer a range of options, with consideration for your budget and performance requirements.
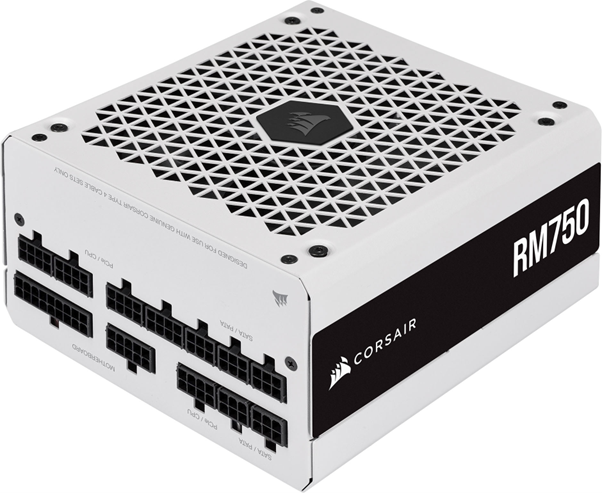
6. Power Supply Unit (PSU): A power supply unit is also essential to building your own PC. As the name suggests, it provides power to all the components of your PC. Choose a reliable unit that has sufficient wattage for your components, ensuring that there is extra headroom for future upgrades as well.
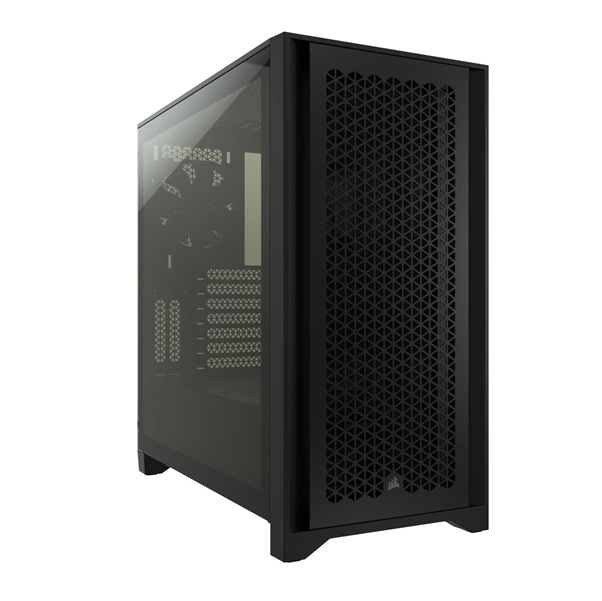
7. Case: A case is something that houses all the PC components and affects airflow and aesthetics. Go for the one that accommodates the motherboard size, has good cable management options, and provides adequate cooling.
8. Additional Components: Now that you have chosen the main components, you should go for other necessary components such as a monitor, keyboard, and mouse.
Set Up Your PC
Gathering up all the components, it's time to assemble your PC. Do keep tools such as screwdrivers, cable ties, and thermal paste. Refer to your motherboard manual for specific instructions.
1. Install the CPU: Handle the CPU with care, aligning all its notches and gently lowering it into the socket. Secure it in place using the retention arm. Apply a small amount of thermal paste and attach the CPU cooler.
2. Mount the Motherboard: Place the motherboard in the case, aligning it with standoffs. Secure it using screws that are provided with the case. Make sure that the I/O shield is correctly positioned.
3. Install RAM: Unlock the RAM slots on the motherboard and insert the RAM sticks, applying even pressure until they click into space. Refer to your motherboard manual to determine the optimal RAM configuration.
4. Connect Storage: Now, connect your storage devices - usually SSDs or HDDs via the SATA cables. Mount them in designated drive bays in the case.
5. Install GPU: Insert the GPU into the PCIe slot, ensuring that it clicks securely. Use the screws to secure it into place, if necessary. Now, connect the power cables from the PSU.
6. Connect Cables: Connect the power cables from PSU to the motherboard, CPU, GPU, and storage devices. Make sure the cables are routed in a neat manner to ensure optimal airflow and aesthetics.
7. Install PSU: Secure the PSU in its designated area of the case and connect all necessary power cables to the PC components. Ensure the PSU fan faces the correct direction for proper airflow.
8. Manage the Cables: Use cable ties to keep the cables organized and secure. This should give both a cooling efficiency and great aesthetics for your PC.
Pro-tip: Refer to the PCPartPicker guide for a full video on how to build a PC. Make sure that you have a reliable internet connection so that you can watch the whole video seamlessly. If you need recommendations, go for Xfinity internet.
BIOS Setup and OS Installation
BIOS stands for Basic Input/Output System and is a program that is embedded in the motherboard. It can provide a connection between the OS and hardware and perform all essential functions such as starting up the system, configuring hardware, etc.
1. Access the BIOS: turn on your PC and press the designated key (commonly Del, F2, or F10 button) to enter the BIOS mode. For ASUS PC, you can click on F8, or F11 for ASROCK. Your PC comes with its own designated buttons for entering the BIOS mode.
2. Configure BIOS Settings: In the BIOS mode, you can configure and adjust settings as boot order, enabling XMP for RAM, and ensuring that your CPU and GPU are recognized. Save all the changes and exit the BIOS mode.
3. Install OS: Insert the OS installation media, and then follow the on-screen instructions to install the operating system on your PC. Make sure that the storage devices are recognized during the whole installation process.
Testing Process
In the final stage of building your own PC, turn on the power button. Fans in the system should be spinning, lights should be on, and there should be no unusual noise - all signs of a working PC.
Verify that the CPU, RAM, and GPU are all recognized in the operating system. Use the system monitoring tools to check the temperature and ensure that all components are operating within acceptable ranges.
You can also run stress tests to check the stability of the CPU and GPU.
Wrapping Up
Building your own PC is no easy feat, but all the careful planning and attention to detail are incredibly rewarding in the end. From selecting components to assembling them all into a fully functional system, you gain a deeper understanding of how your PC works. This is why this "how to build a PC" guide is fulfilling for you. No matter what purpose you need the PC for, there is some unmatched satisfaction when it's custom-built.
FAQs
Is building a PC cheaper than buying a pre-built one?
Building a PC can be cost-effective since you have control over component selection. However, it requires time and effort. A pre-build PC may offer convenience but often comes with a higher price tag.
Can I upgrade my PC after building it?
Definitely. That's one of the advantages of building your own PC: you can upgrade the drivers and hardware on your own terms.
Do I need tools to build a PC?
Yes, you just need the basic tools such as a screwdriver, cable ties for managing all the cable wires, and thermal paste if it's not included with the CPU cooler.
How long does it take to fully build a PC?
The time required depends on your experience level and the complexity of your build. Beginners may take a few hours, while experienced ones can complete the whole process in less time.
Is it necessary to overclock a PC?
Overclocking your PC is optional and it helps to provide a performance boost. However, you also need to know that it generates more heat. You should only try overclocking if you are comfortable with the process and have adequate cooling solutions.
Is it hard to build a PC with no experience?
When you have access to many resources, it's not impossible to build a PC. Plus, you need to put in effort to start from scratch.


Update